Title here
Summary here
This is the translation in English of a tutorial originally written by Thomas Fourmeux, a French librarian. Follow him on Twitter!
This tutorial is for using the PiRogue in a situation where you don’t have a wired connection to the Internet (such as in a car). Thanks to a travel router, you will be able to share (via USB) your smartphone’s LTE/4G connection with the PiRogue.
In this situation, you need the following hardware:
Follow these steps to connect all the pieces together:
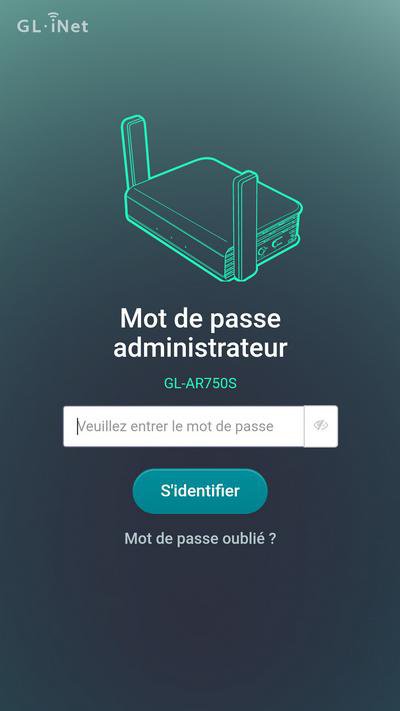
GL-AR750S-XXX, the password is goodlife (it is also written on the back of the travel router)http://192.168.8.1Note
Note that you have to enable the USB tethering in the settings of your smartphone.
When you first connect, you must set the language and administrator password to secure access to the router.
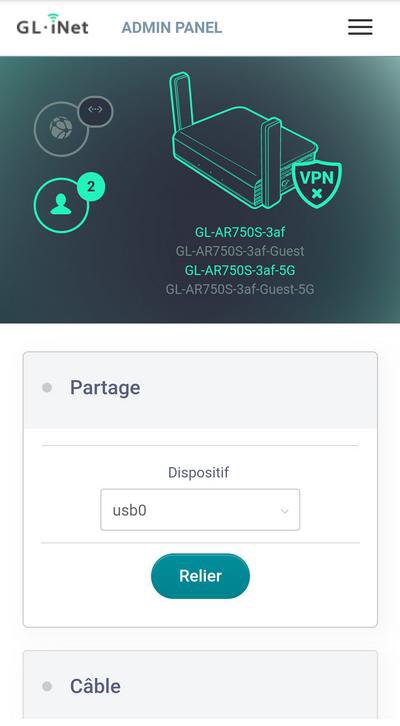
In the Internet tab, enable connection sharing as follows:
We can connect the router in LAN via a cable, use the router in repeater mode, connect a 4G dongle or in connection sharing mode with a smartphone. It is this last option that interests us. After connecting the smartphone via USB, the router interface detects the device in the Sharing section with the usb0 device and proposes to connect the two devices. We establish the connection by clicking on Connect.
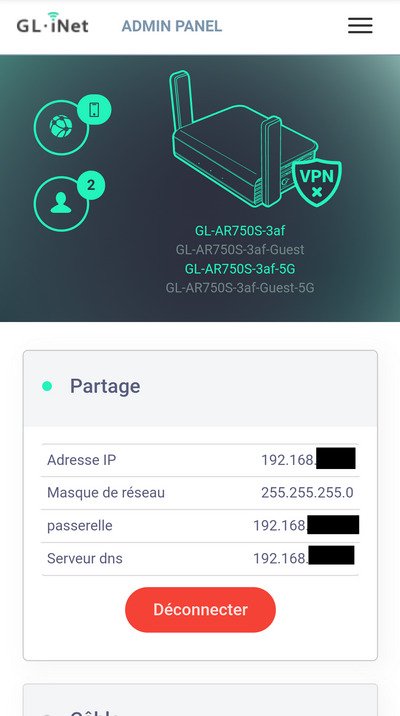
Once the connection is established, the router shows the network configuration with its IP address, the netmask, the default gateway and the default DNS server.
To be able to connect to your PiRogue dashboard, you need its IP address. To find it, just go to the Clients tab of the router’s administration panel to list all the devices connected to it. The PiRogue is indicated in the column Wired device with the name raspberrypi.
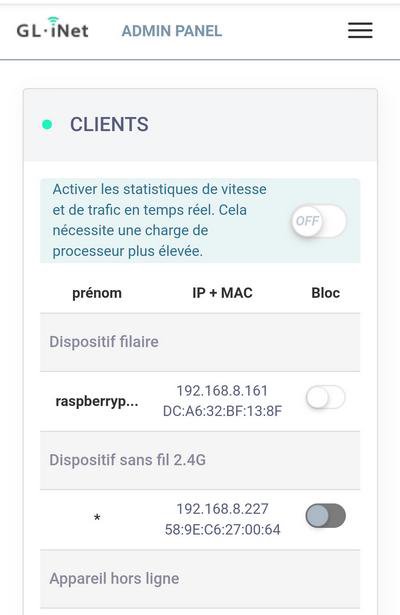
Finally, the PiRogue network is operational. You can connect to the PiRogue’s dashboard as you usually do just by browsing its IP address on port 3000 in your Web browser. The IP address is listed on the Clients page of the router, it should look like 192.168.8.xxx